Brake and Clutch Master Cylinder Replacement
 |
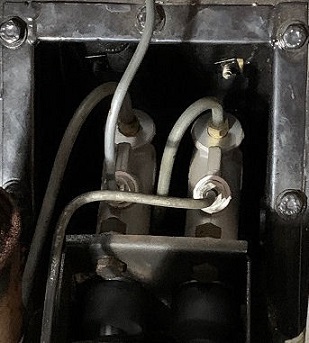 |
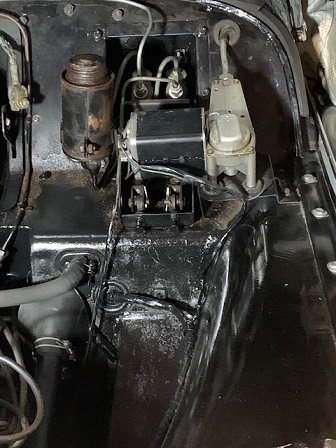
In 2019, I noticed a leak from the brake clutch master cylinder reservoir. The leak appeared to be coming from reservoir cap so I replaced it. The leak became worse later and brake fluid had dripped down the firewall destroying the paint. I was using the old standard DOT 3 fluid. Further inspection revealed the gaskets on both the brake and clutch cylinders had deteriorated. I decided to buy both cylinders from Moss Motors and was surprised how inexpensive they were at under $30 each.
I thought about using synthetic fluid to replace the old DOT 3, but read that all of the old fluid must be thourghly removed or problems would occur. I decided the easier route was to put DOT 3 back into the system while bleeding the brakes. I may regret this decision if the new cylinders leak in the future. However, I am 80 years old and hope the cylinders hold up for the time I have left to enjoy car.
I was having medical issues at the time and did not feel like removing all wires and attachements on firewall to remove the old paint. I simply did the best job I could with toothbrush, sandpaper and small wire brush. I used heat resistant paint in spray can to cover the area. The job was not great looking but at least I sealed the area to prevent rust. I plan to do a better job in the near future.
Carburetor and Fuel Mix Adjustments
About the same time the brake and clutch cylinders were leaking, I notice the engine was running rough. In addition, the choke cable would not pull out so I had to use starting ether to start the car when cold.
I correctly surmized the SU Carbs were out of adjustment. I had seen them being adjusted in the past, but had never done it myself and was reluctant to try. However, the car finally refused to start and run without quickly dying.
As I expected I could not find anyone within 50 mile radius who knew how to sync SU Carbs. Even if I had found a place I would have had to trailer the car to the location. Out of desperation I contacted Ed Woods from Pittsburgh, a fellow club member in the Western PA Triumph Association, and explained my problem. Ed had rebuilt my engine in 2005 and sold me an electric overdrive he had rebuilt. He suggested we work long distance and he would give me instructions via text.
It took about a week with off and on discussion and much to my surprise and delight the idea worked. Before we began I purchased a sync gauge from Moss Motors for about $30.
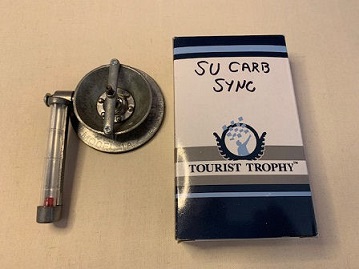
The process was easy, but too complicated to explain here in words. Essentially, the two carbs had to be separated by disconnecting the throttle linkage shaft between the carbs. Then each carb is adjusted with throttle adjusting screw to balance the bubble in sync gauge so that each carb is the same. The mixture is adjusted by lifting carb piston a bit. An increase in engine speed indicates that the mixture is too rich. A decrease in engine speed or stall indicates a too lean mixture. An adjusting screw on bottom of carb is turned to adjust mixture.
In the process of adjusting the carbs, I lubed the choke linkage and cleaned the carb pistons which corrected the stuck choke cable.
Since the procedure is not easy to understand in written statements and adding a video to a webpage is also not easy, I have listed three YouTube Videos that may help in the understanding. I could not find a good one from a TR3, but the procedure is essentially the same.